§ 11 · Body & Interior › Doors & Latches › Sliding Door
Sliding Door Clunks and Roller Wear
Astro & Safari · 1985–2005 · cargo & passenger vans with sliding side door
Safety first.
- The sliding door is heavy and can shift suddenly. Support it before removing any roller assembly.
- Do not drive with a visibly cracked bracket, severely loose roller, or a door that does not latch securely — a partially latched door can open under cornering or impact.
Do not automatically replace the center roller.
The sound may come from the center roller bearing, roller axle, upper/lower guides, worn track, rear latch, striker adjustment, loose bracket hardware, or inadequate weatherstrip compression. Diagnose before you buy parts.
1985–2005 Chevrolet Astro and GMC Safari, cargo and passenger models with sliding side door. Applies to 2WD and AWD.
- Clunk or knock near the middle track over bumps
- Rattling or rough sliding during door movement
- Door sag or misalignment
- Poor weatherstrip compression or difficulty latching
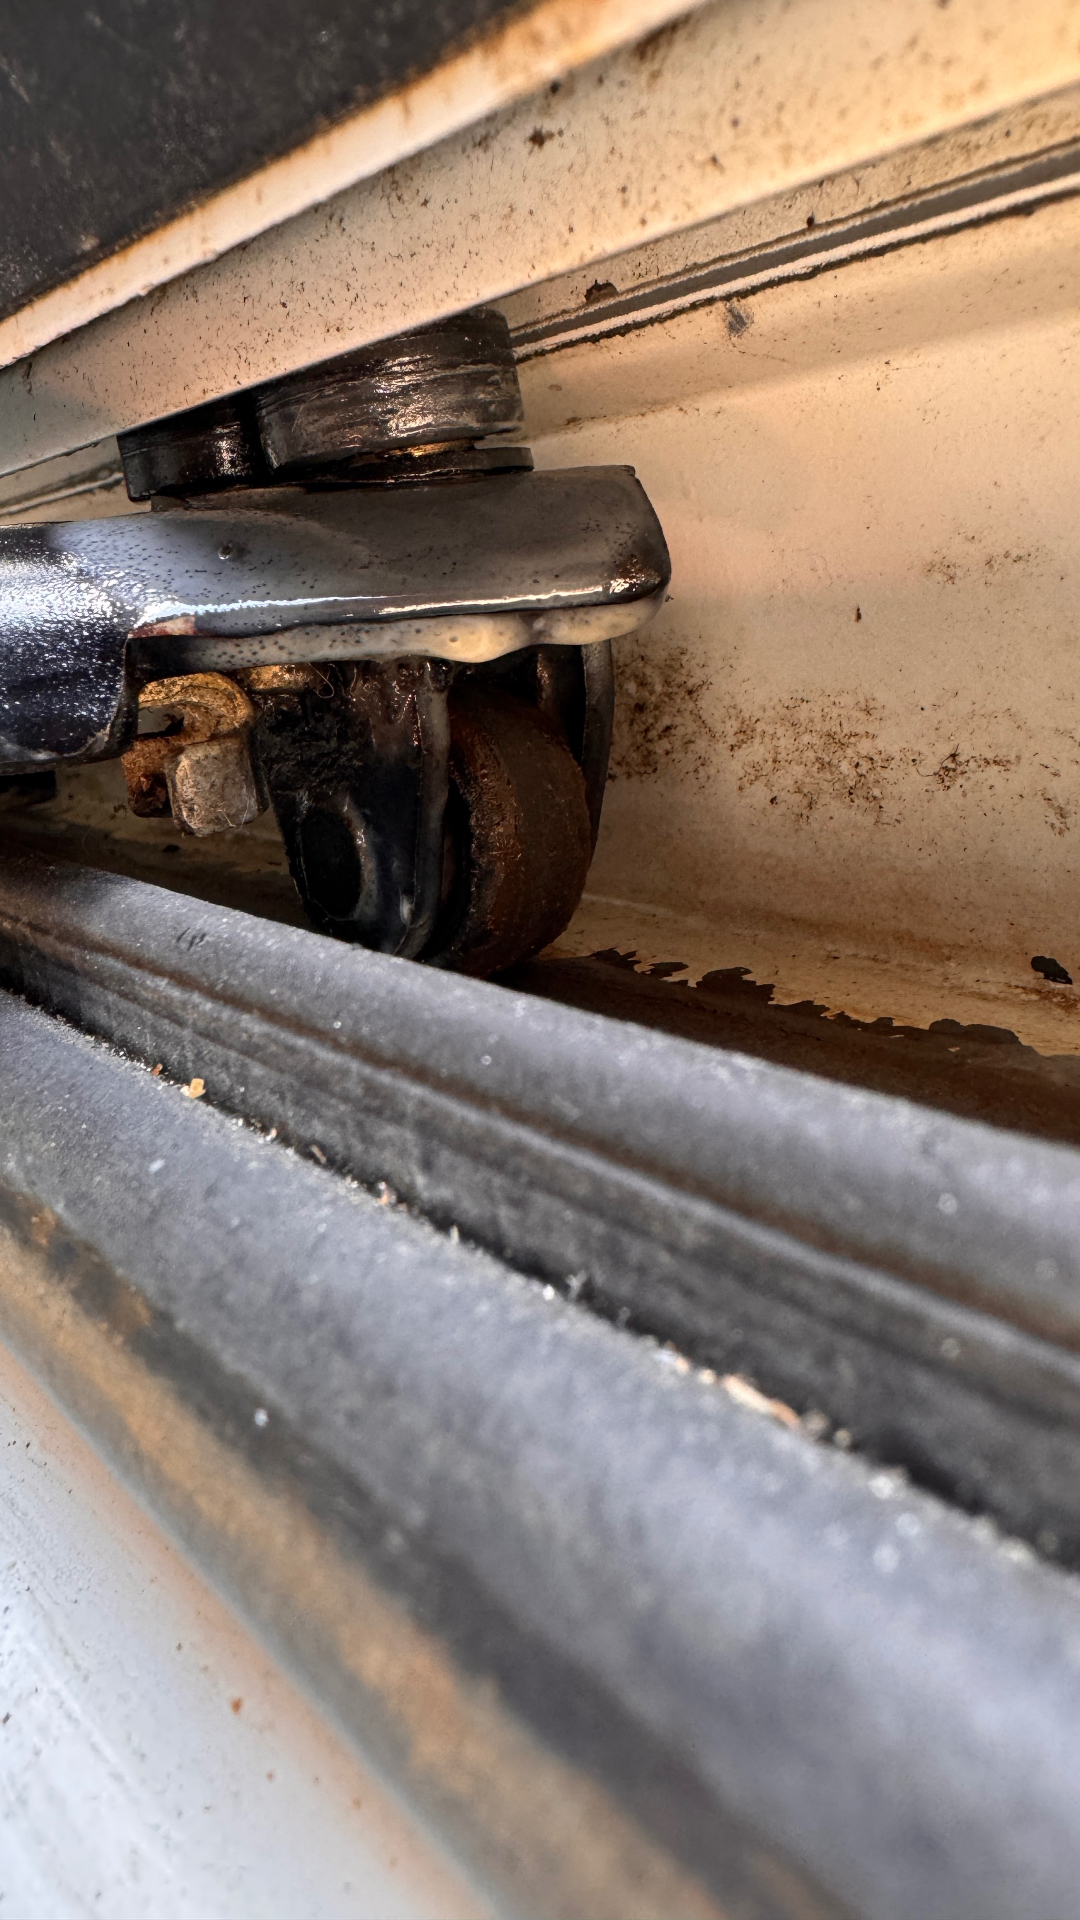
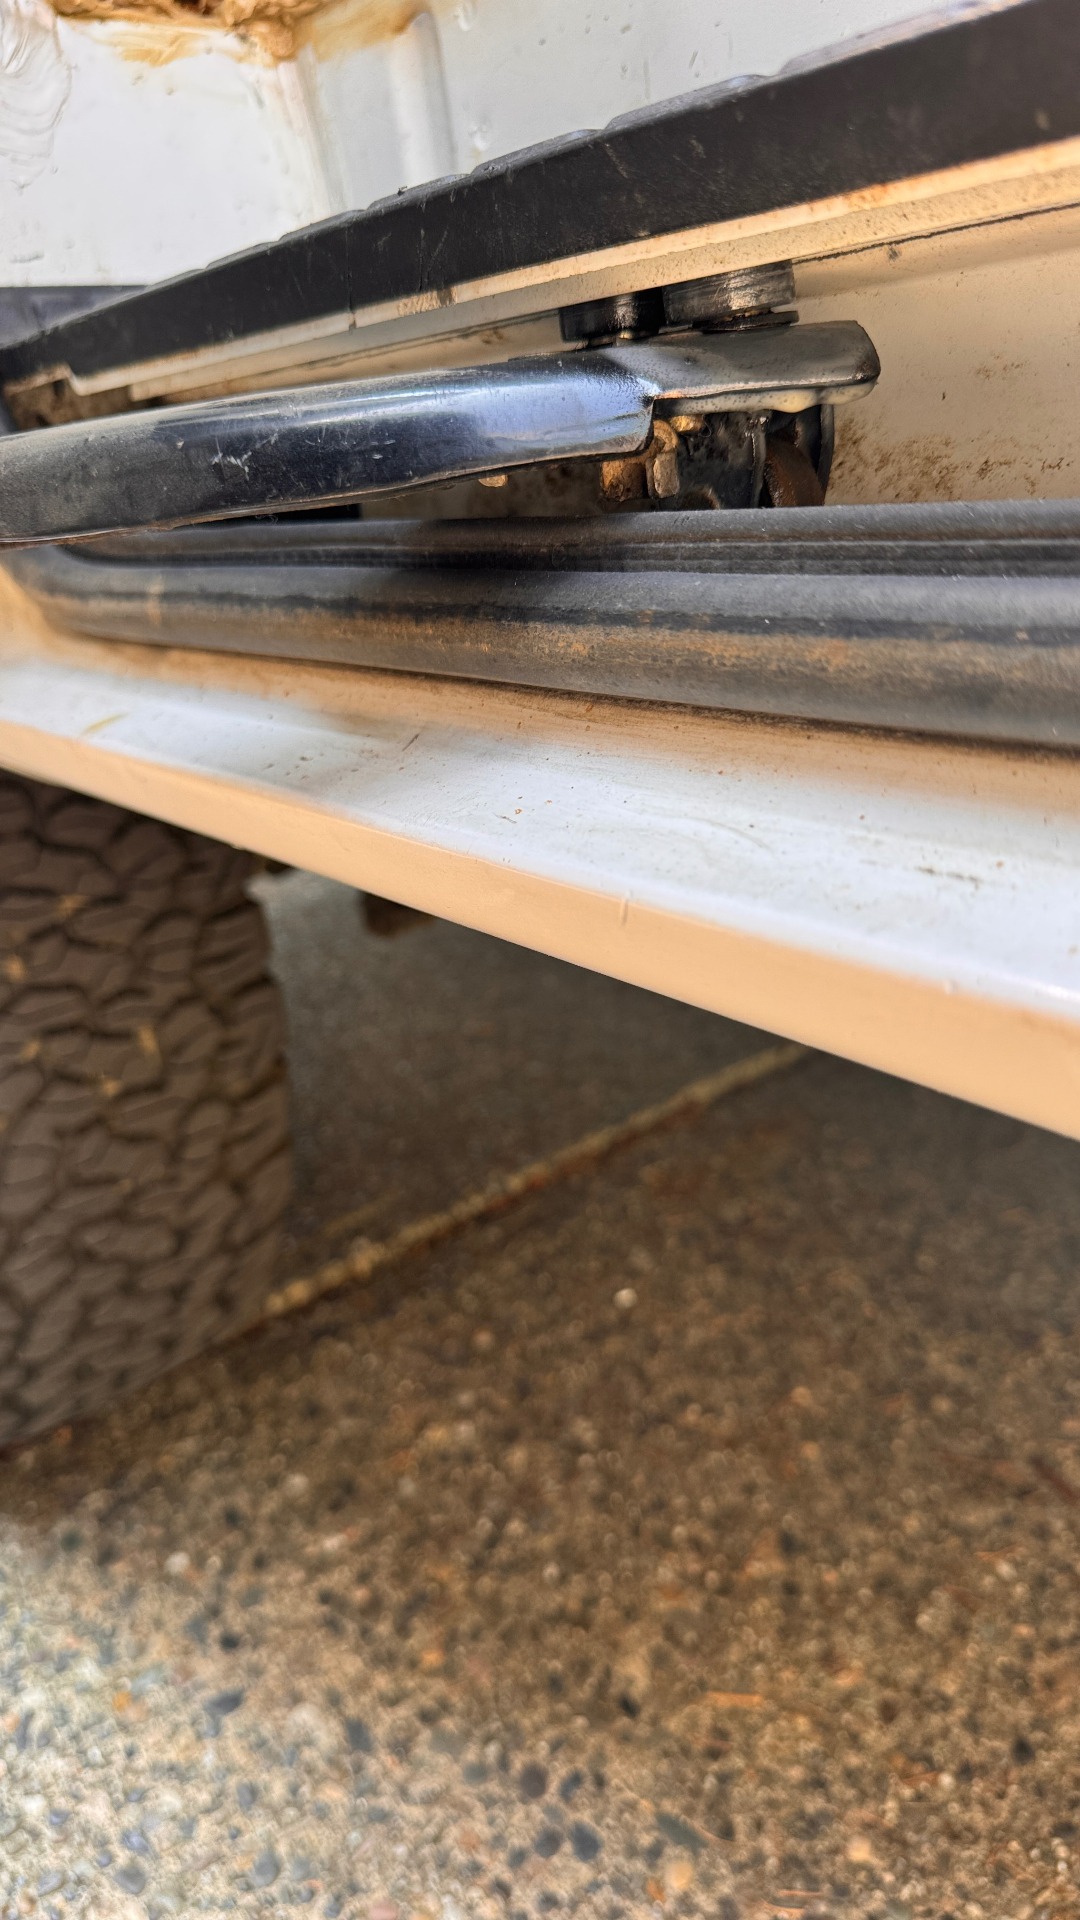
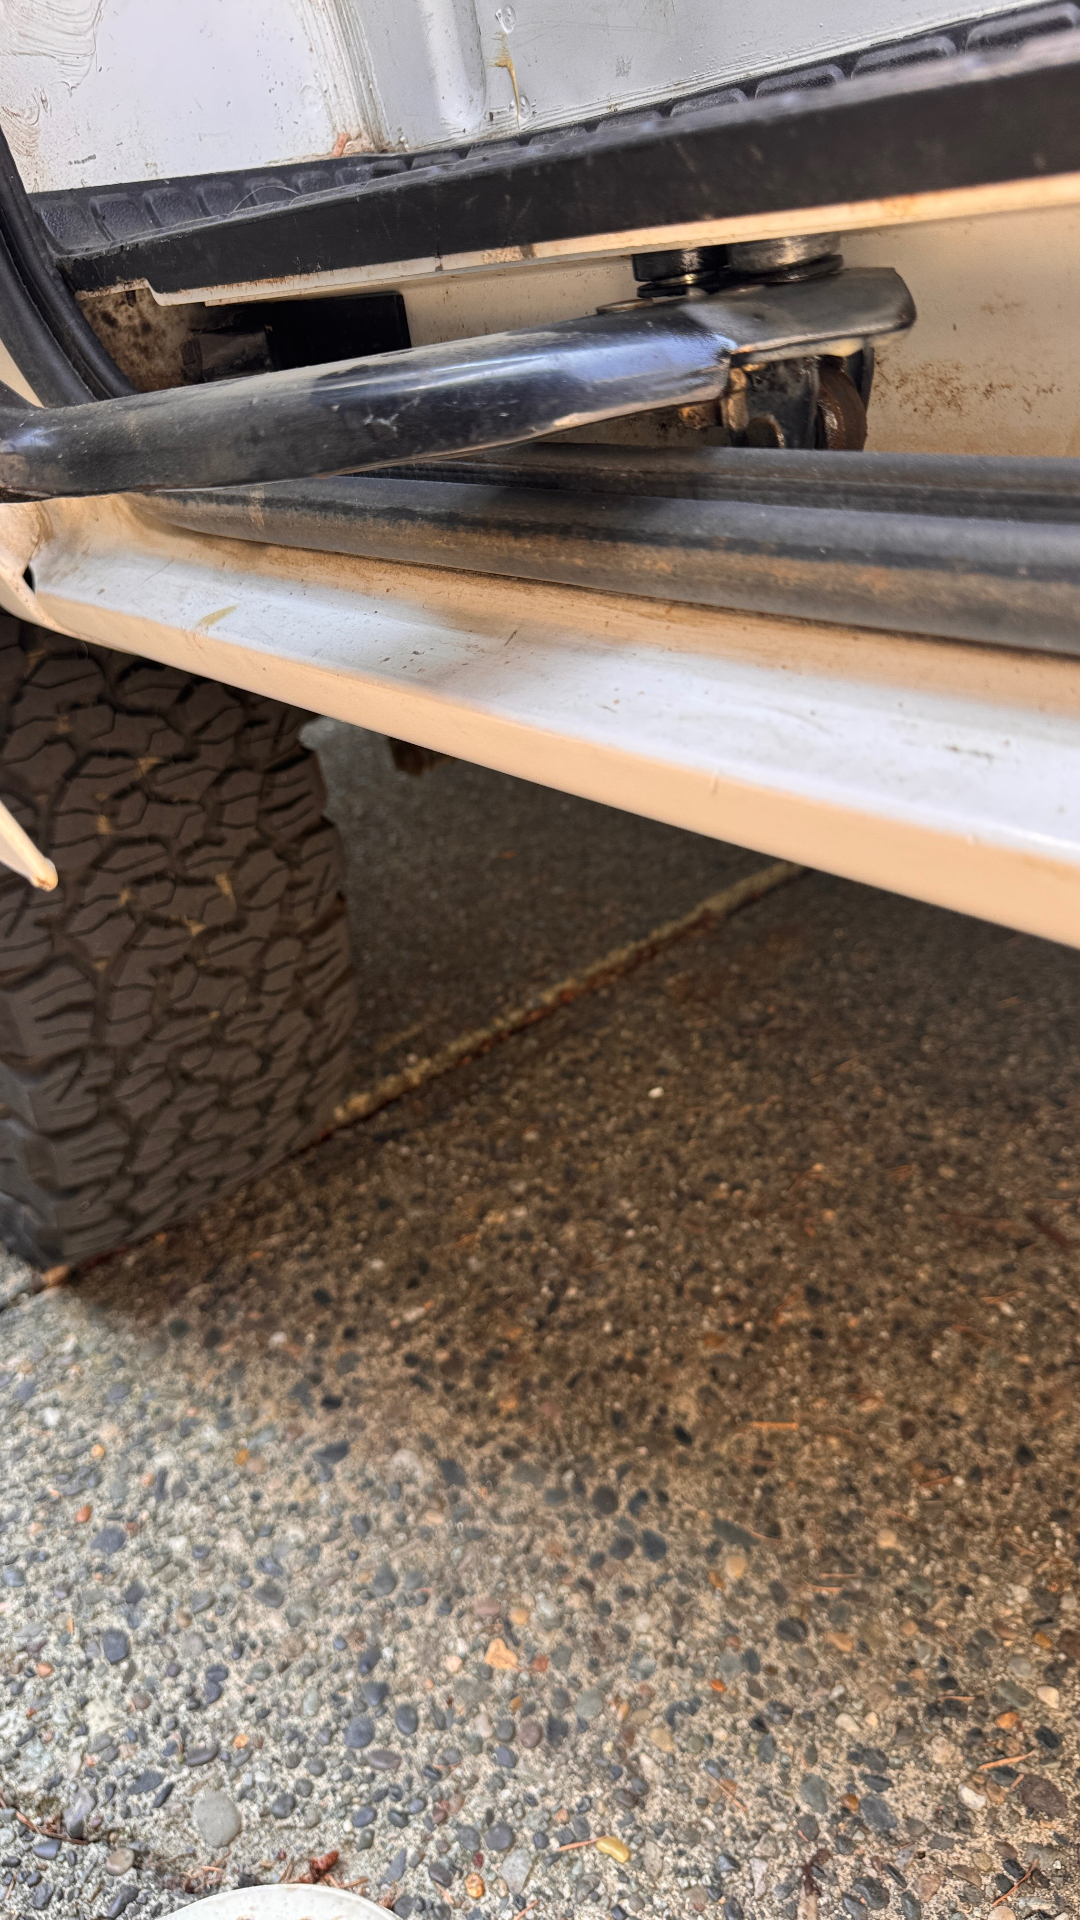
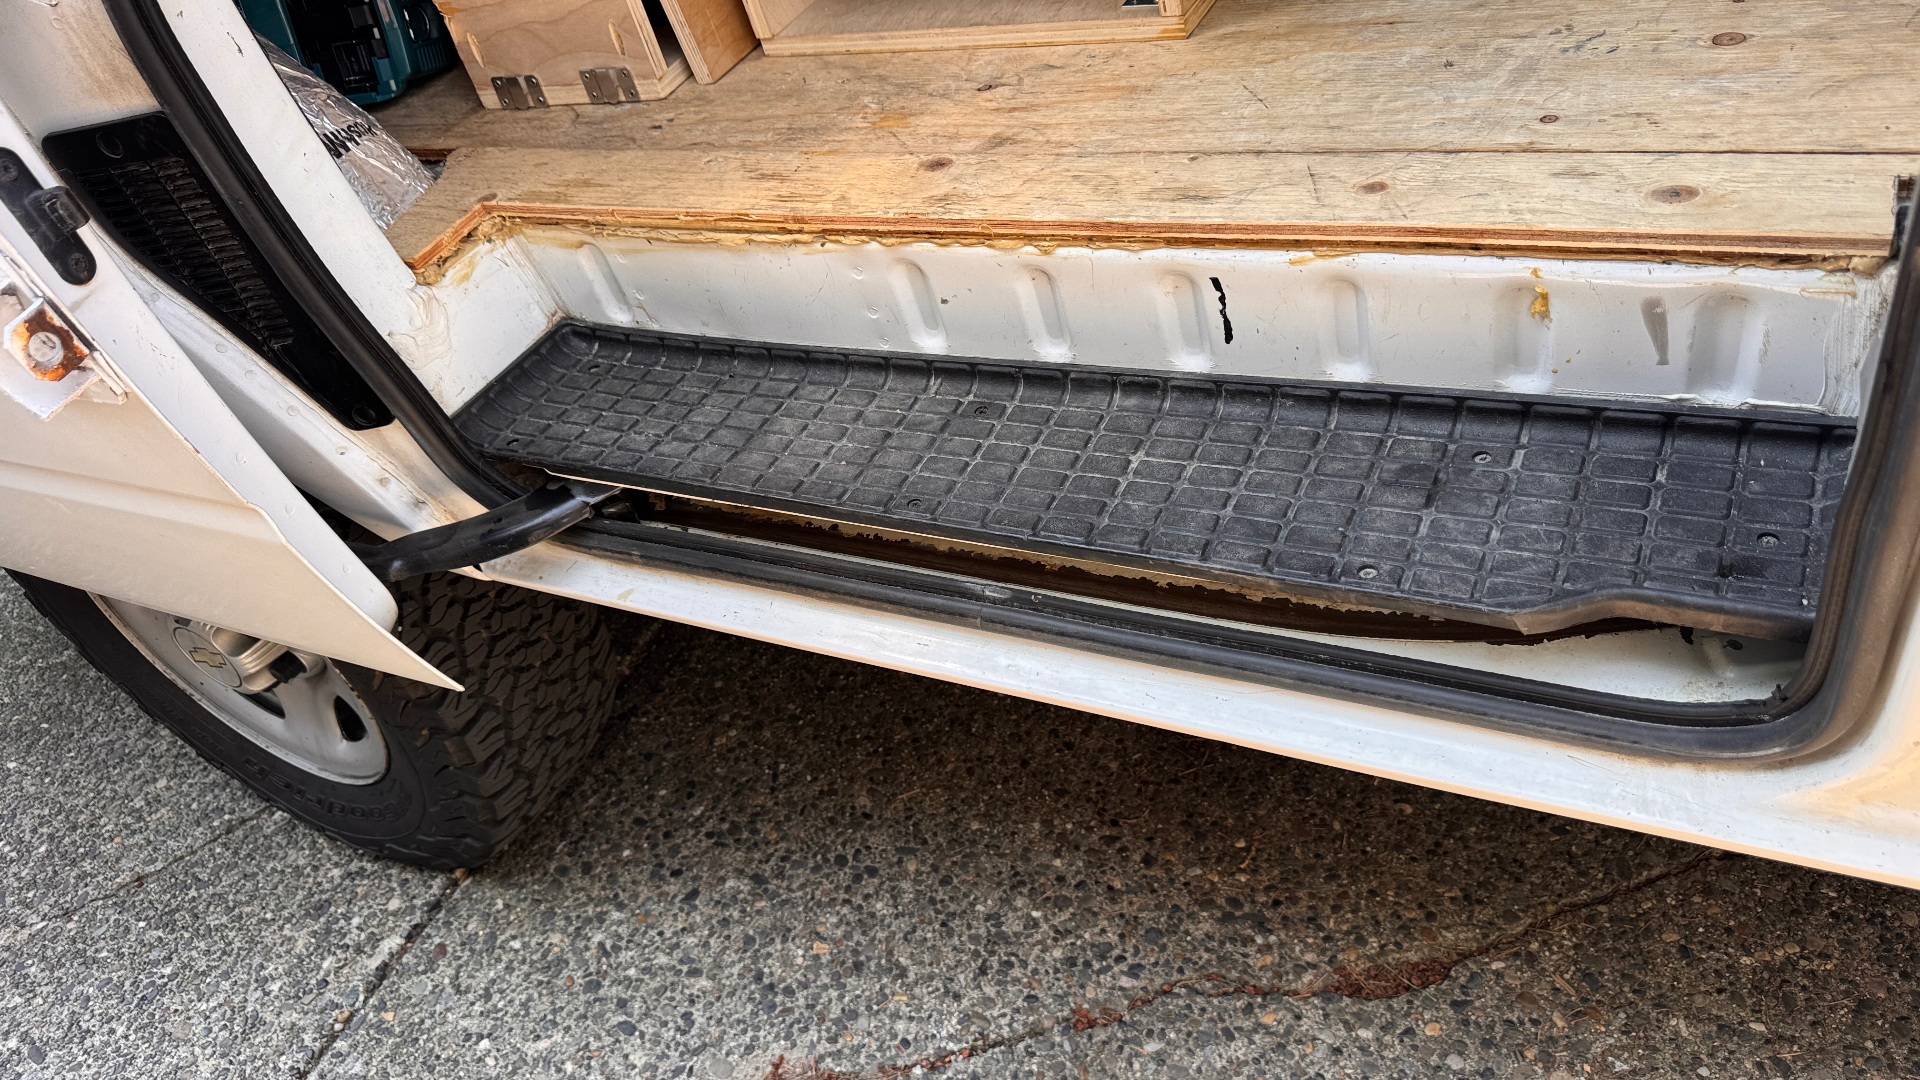
Owner-submitted inspection photos of a real Astro sliding door with center roller wear. Use these as visual reference when comparing against your own rig.
Diagnostic order
- 01Open the door halfway. Test vertical, inward/outward, and fore/aft play.
- 02Rotate the center roller. Look for roughness, seizure, flat spots, rust, loose bearing, axle movement, cracked bracket, or damaged welds.
- 03Inspect the middle track for grooves, deformation, debris, and polished impact points.
- 04Close the door. Push and pull at the middle and rear edges to reproduce the clunk in the driveway.
- 05Inspect the rear latch and striker for looseness, witness marks, misalignment, and insufficient preload.
- 06Verify upper and lower guides and all mounting fasteners.
- 07If needed, apply removable felt tape at suspected contact points as a diagnostic isolation aid only — not a permanent repair.
Sliding-door clunk — start here
Symptom-first triage for a clunk, knock, rattle, or sag at the sliding side door. Do not replace the center roller until the source is confirmed.
Repair guidance (least → most invasive)
1. Clean the track
Remove debris, road grit, and old grease from the middle track.
2. Lubricate appropriate points
Apply a non-gumming lubricant only to the roller bearing and latch pivots. Keep grease off exposed dirt-catching surfaces.
3. Tighten loose hardware
Torque roller-bracket, guide, hinge, and latch fasteners to verified service-manual specifications when available.
4. Adjust latch and striker
Mark the original striker position first. Small adjustments only. Verify closure and weatherstrip compression.
5. Replace the roller assembly
Only when play, roughness, seizure, bracket damage, or axle wear is confirmed. Support the door before removal.
6. Repair damaged track or structure
Gouged, deformed, or cracked track sections or reinforcement — usually body-shop level work.
Preventive maintenance & field inspection
- Wipe the middle track clean at every wash.
- Re-lube roller bearing and latch pivots seasonally.
- Inspect roller for play and bracket for cracks each oil change.
- Check striker witness marks and door alignment quarterly.
- Feel weatherstrip compression along the full length when closed.
- Confirm the door latches solidly on the first pull before every trip.
Confidence & evidence
- Confirmed mechanical principles: worn bearings clunk under load; loose latches allow door movement; deformed tracks change roller path.
- Common owner / mechanic field experience: the middle track roller is the most frequently reported source on Astro/Safari, but not the only one.
- Pending verification (GM service manual): exact fastener torque values, striker adjustment dimensions, and year-specific roller part numbers. Do not assume — verify per model year before ordering parts or torquing fasteners.
Document your repair
Log the following in your rig profile so the fix compounds into the community record.
- Mileage at repair
- Failed component (roller / latch / striker / track / guide)
- Measured play (mm) in each axis
- Part brand and number installed
- Before / after photos of the roller area
- Whether the noise was fully eliminated
Related
Tags: sliding door · center roller · door clunk · body rattle · NVH · latch · striker · track · Astro · Safari